 (Image via
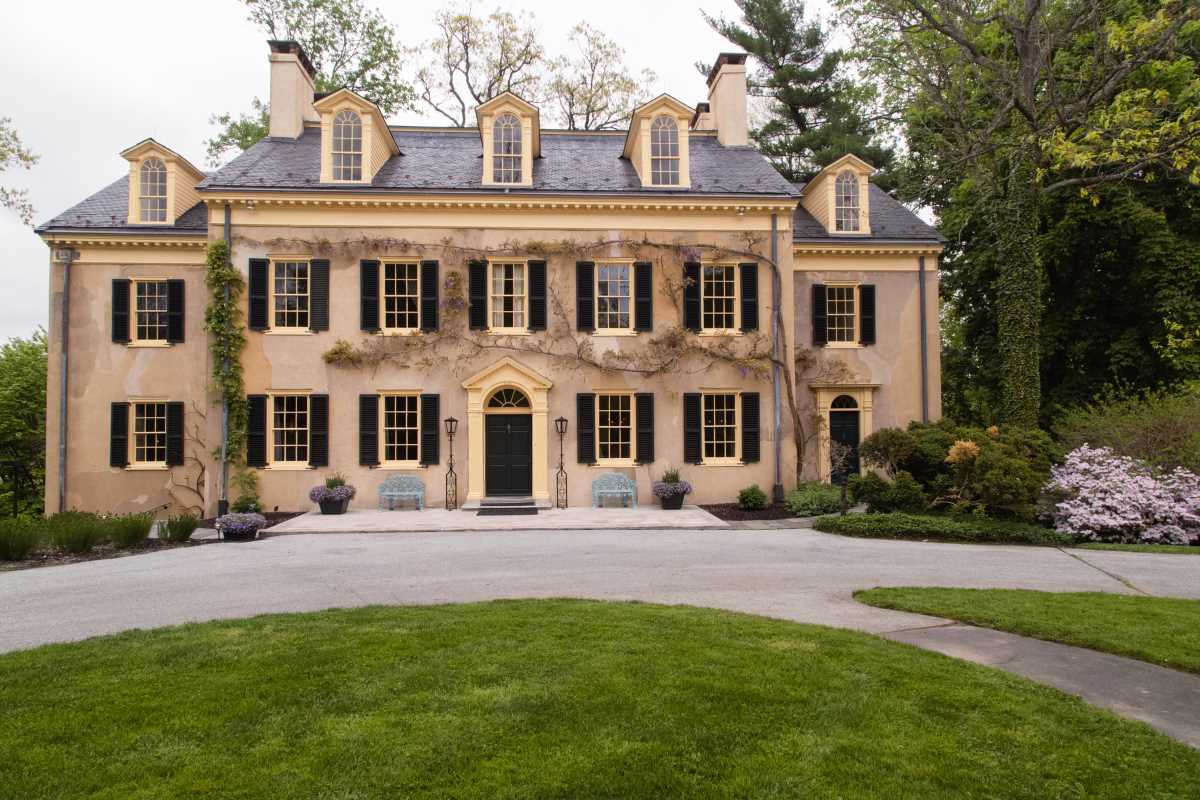
Many older homes hold unique stories and character, but updating them for better energy performance requires careful preparation. This guide walks you through nine straightforward steps to help you ready your classic home for modern systems, improved insulation, and environmentally conscious upgrades. You will learn how to preserve the distinctive charm of your house while making it more comfortable and efficient. With thoughtful planning and attention to detail, you can enjoy the benefits of lower energy bills and a cozier living space without sacrificing the features that make your home special.
We’ll start by inspecting the structure, then run a detailed energy audit. After mapping out suitable improvements, you’ll learn to pick materials that respect original features. Let’s dive in and set up a plan that balances conservation with comfort.
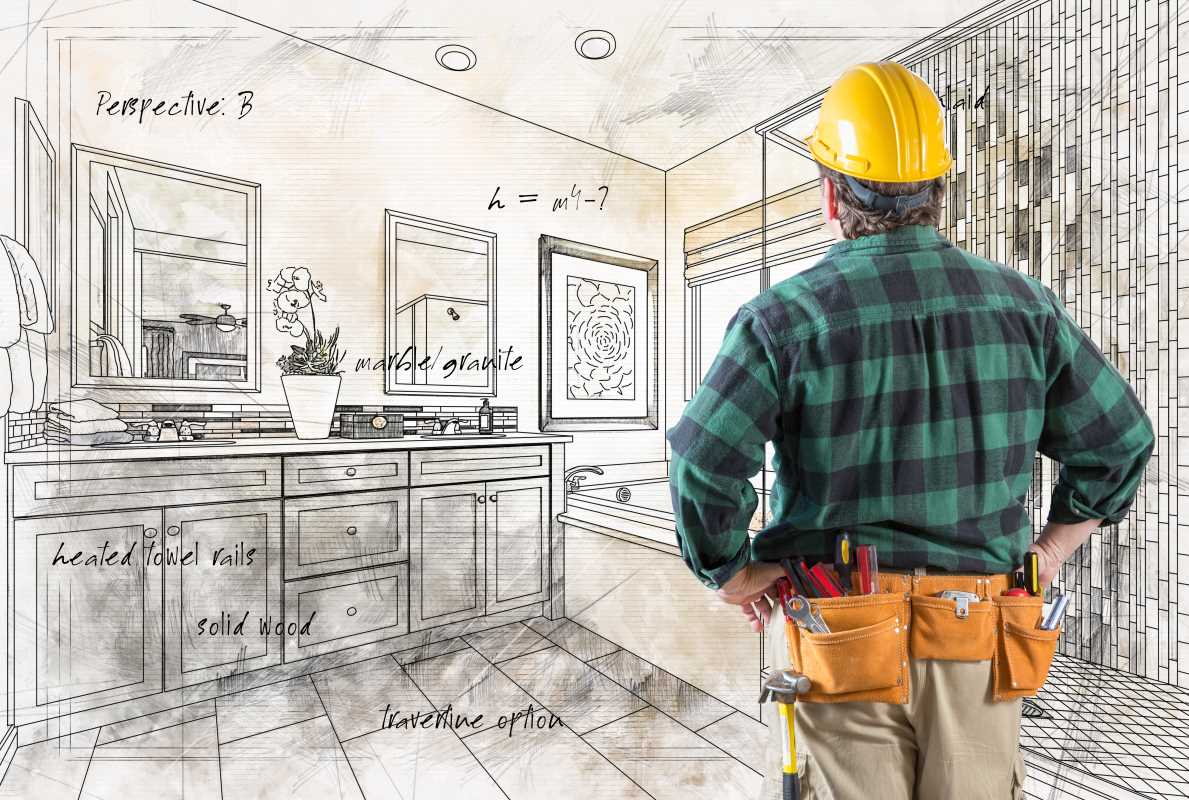
1. Assess Structural Integrity and Historical Features
Begin by checking the foundation, rooflines, walls and load-bearing elements. Look for cracks in masonry, sagging floor joists or rotted wood beams. Take notes or photos of any areas that seem unstable or out of level. These visuals will help contractors focus on critical spots.
Next, catalog original features you want to keep—stained-glass windows, ornate moldings, vintage hardware. Pay special attention to window sashes and door frames. When you know exactly what’s unique about your home, you can plan upgrades that protect these treasures.
- Foundation: look for shifting or settlement cracks
- Roof: inspect for leaks, missing shingles, and rot
- Floors: check for squeaks, dips or stiff spots
- Trim and molding: note any loose or damaged sections
2. Conduct a Professional Energy Audit
Hire a certified auditor to measure heat loss, air leaks and insulation levels. Their report provides data on where your home wastes the most energy. Share your visual notes so they can inspect those trouble spots closely.
Before the auditor arrives, prepare by closing all windows and doors, turning off ceiling fans, and ensuring access to attics and basements. This makes their readings accurate and helps them pinpoint drafts and cold spots.
- Seal all exterior openings and switch off fans
- Clear pathways to attics, crawlspaces and mechanical rooms
- Gather any past renovation records for context
- Discuss budget goals and comfort priorities
3. Plan Preservation-Compatible Upgrades
Compare your audit results to local restoration guidelines. Match new materials with historic textures and colors. Choose options that are reversible whenever possible so you can revert to original details later.
Inspect product labels and look for certifications like Energy Star on windows or insulation.
4. Upgrade Insulation and Restore Window Efficiency
Old homes often lack proper insulation in walls, attics, and basements. Choose materials that won’t trap moisture or damage wooden framing. Consider mineral wool, cellulose or spray foam with a low expansion rate. Each performs differently in historic walls.
Windows can lose up to 30% of heat. Repair existing sash by reglazing and adding weatherstripping. If you need replacement, select units that match original profiles. Use interior storm panels to improve thermal performance without changing the exterior sightlines.
- Mineral wool: fire resistant, breathable, good for masonry walls
- Cellulose: eco-friendly, fills gaps well, resists pests
- Low-expansion spray foam: seals tight cavities, avoid overfilling
5. Seal Air Leaks and Improve Ventilation
Locate leaks around chimneys, plumbing vents and electrical wiring. Apply caulk or gaskets to seal gaps. Install door sweeps on old doors to stop drafts without removing charming thresholds. These fixes will noticeably reduce energy bills.
Maintaining healthy indoor air requires balanced ventilation. Add discreet trickle vents in window frames or use an energy-recovery ventilator. It exchanges stale air for fresh air while retaining heat, protecting wood finishes from moisture buildup.
6. Implement Efficient HVAC and Renewable Systems
Replace outdated furnaces with high-efficiency units sized to meet your heat-loss calculations. Oversized systems cycle too often and waste energy. Aim for models with modulating burners or variable-speed blowers to match demand.
Think about renewable add-ons like solar panels or a small heat pump. Place panels on less visible roof zones or ground mounts to keep historic views intact. A heat pump can serve as an efficient supplement to your main heating system on milder days.
7. Integrate Smart Controls and Efficient Lighting
Install programmable thermostats that adapt to your schedule. They lower temperatures when you’re away, then warm rooms before you return. Smart sensors can detect occupancy and adjust settings automatically.
Replace old incandescent bulbs with LEDs in fixtures that suit the period style. Look for warm-white tones and lens shapes that resemble classic bulbs. Many LED designs now mimic vintage filaments without wasting energy.
8. Monitor Performance and Maintain Historical Integrity
Track your energy bills and use a home-energy dashboard or app to monitor improvements. Compare monthly data year over year to see real savings and spot unexpected spikes. Early detection of any issues allows you to fix leaks or tune systems quickly.
Keep records of all work and store receipts, product specs and warranty information. If you ever sell or add more upgrades, having a documented history demonstrates to prospective buyers that you maintained both efficiency and heritage.
9. Explore Financing Options and Incentives
Investigate tax credits, rebates, and low-interest loans for historic rehabilitation and energy improvements. Many local programs offer matching funds or grants to help offset project costs, especially for preservation-friendly materials.
Reach out to the state historic preservation office or local nonprofit trusts. They often provide guidance on funding options tailored to landmark properties. Combining several upgrades into one project can qualify you for larger incentives.
Following these nine steps makes your home more comfortable, energy-efficient, and true to its original character.