 (Image via
Refreshing an older kitchen can feel exciting and achievable, even without spending a fortune or tearing everything out. By adding a few intuitive smart appliances and blending them with what you already have, you can upgrade both how your kitchen looks and works. Imagine switching on lights with your voice or using a faucet that responds to a gentle tap from your elbow—these small changes instantly make daily tasks easier. Careful planning and choosing where to invest can help you introduce new technology into your familiar space, giving it a modern feel while still keeping its original charm.
This guide dives into unexpected angles on why small upgrades matter, then outlines concrete, hands-on steps to install devices, curate style, and hunt for deals. You’ll learn how to get the most tech bang for your buck, from precise water-saving faucets to smart bulbs that adjust color temperature throughout the day. Let’s roll up our sleeves and dig into a practical roadmap for turning yesterday’s kitchen into a future-ready hub.
Why Small Smart Upgrades Change Your Kitchen Atmosphere
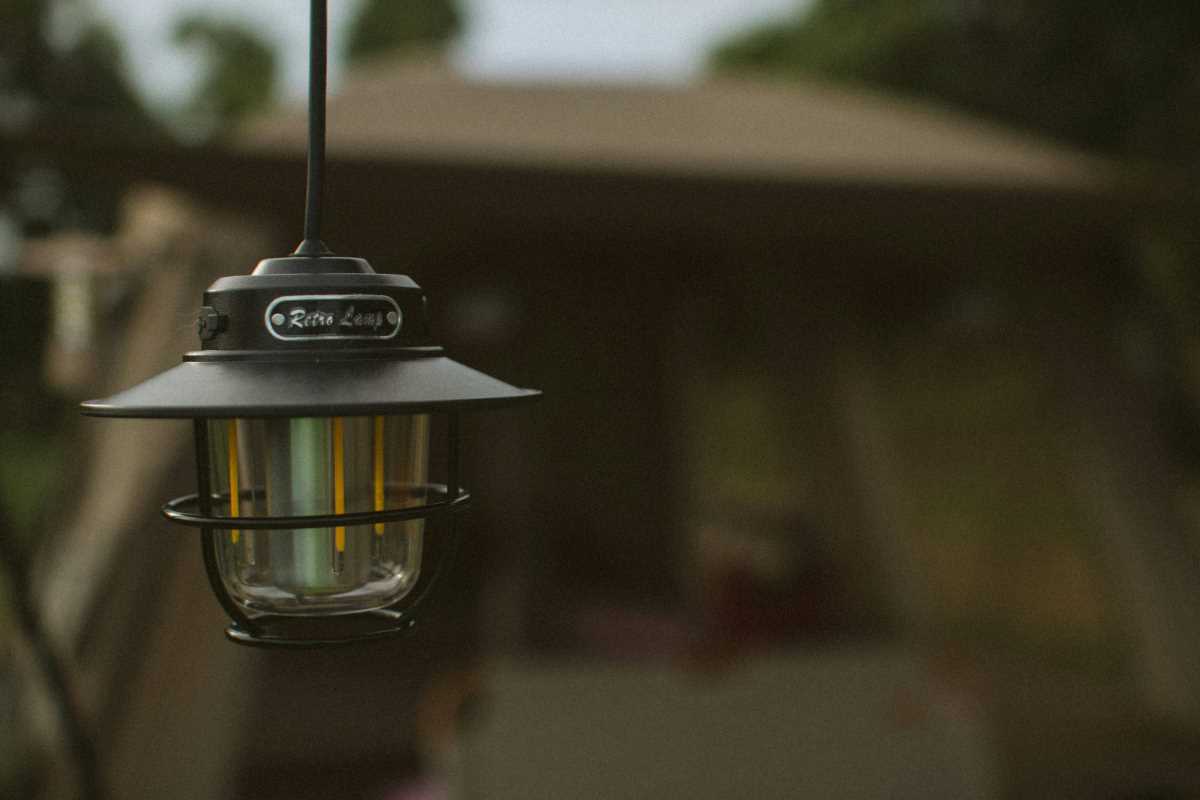
- Subtle Rhythm Shift: Replace an ordinary light switch with a smart lighting system that changes more than brightness. It updates your daily routine—schedule warmer hues in the morning to wake up gently, then cooler tones during dinner prep. You’ll notice subtle improvements in mood and focus without rewiring everything. Insider tip: group three bulbs per circuit to avoid Wi-Fi overload.
- Hidden Water Efficiency: A touchless smart faucet fitting mounts onto most standard sink mounts and reduces water waste significantly. It registers hand motions to start water flow at the temperature you set. You can program temperature increments in three simple taps on its companion app. Look for models under $120 online and keep an extra silicone gasket in your toolbox for painless maintenance.
- Micro-Climate Control: Install a dedicated smart thermostat for under-cabinet warming mats to prevent soggy cabinets and stale produce. Attach small sensors beneath shelves, set target humidity points in a mobile menu, and let the system run quietly. Those devices go for around $80; buy during seasonal sales. Insiders recommend placing sensors near the back corners of cabinets for the most accurate readings.
- Voice-Guided Prep Station: Add a compact smart speaker to keep timers, recipes, and grocery lists hands-free within arm’s reach. Mount it on the backsplash with a command-ready bracket, connect via Bluetooth to your phone, then say your shopping list while you cook. Entry-level models sit around $25 but invest in a water-resistant pad if you plan to install it close to a sink.
- Smart Pantry Alerts: Use a monitoring kit for your pantry that employs tiny weight sensors you place under canisters to track usage. It sends alerts when staples dip below your chosen thresholds, so you never run out of flour mid-bake. Setup takes four steps: stick sensors under each item, link to Wi-Fi hub, calibrate weight profiles on the app, then name each zone. Kits range from $60 to $90 and go on discount in fall. Pro tip: label zones in the app with color codes for faster restocking.
Step-by-Step Integration of Smart Appliances
- Smart Thermostat Retrofit: Install a retrofit smart thermostat adapter to control under-cabinet warming mats. First, switch off the breaker for your kitchen outlets. Second, clamp the temperature sensor under any shelf you want to regulate. Third, link the device via its companion app following the in-app prompts. Fourth, set daily schedules for warming periods. Fifth, monitor energy usage graphs weekly. This retrofit accessory costs about $75 online, and most major home centers stock it. Insider tip: avoid placing the sensor next to cable bundles to prevent electromagnetic interference causing false readings.
- Touchless Faucet Add-On: Add a motion-sensing module to your existing faucet to cut water waste and improve hygiene. Step one, remove the aerator and clean debris. Step two, screw in the sensor module according to instructions and reconnect the aerator. Step three, secure the battery pack under the sink with provided adhesive strips. Step four, program water-on and water-off delays using the button on the module. Step five, test different wave patterns in front of the sensor to find the sweet spot. A reliable motion kit runs about $45 at hardware stores, and it fits most 1/2-inch connections. Insider tip: place a small rubber pad behind the sensor when mounting to absorb faucet vibrations that could trigger unintended sprays.
- Smart Bulb Grouping: Upgrade ordinary bulbs to tunable LED smart bulbs in clusters for customized lighting zones. First, unscrew each standard bulb and replace it with the smart LED equivalent. Second, name each bulb in your home hub app according to its position (for example, “under-cabinet left”). Third, create a lighting scene for tasks—like “chop,” “simmer,” or “dine.” Fourth, set voice commands for each scene on your smart assistant. Fifth, schedule daily routines to shift color temperature automatically. Each bulb costs around $12 when bought in a five-pack online. Insider tip: group bulbs on separate network channels if your Wi-Fi router supports dual-band to keep controls snappy and avoid dropouts during peak internet usage.
- Countertop Air Quality Monitor: Place a compact air-quality sensor on your countertop to gauge cooking pollutants and moisture levels. First, unpack the unit and plug it into an outlet near your stove. Second, connect to the manufacturer’s app by scanning the QR code on its back. Third, label your sensor as “Stove Upper” for easy tracking. Fourth, calibrate it by running a quick clean-air cycle in the app. Fifth, set custom alerts for particulate thresholds. These monitors retail around $90 on e-commerce sites. Insider tip: position the monitor at least six inches from walls or cabinetry to ensure unobstructed airflow readings.
- Smart Plug for Small Appliances: Insert a smart plug between your countertop appliance and outlet to schedule automatic power cycles. Step one, plug the smart module into your wall socket. Step two, connect your toaster, mixer, or coffee maker to that plug. Step three, define on/off times in the companion app. Step four, tie in voice commands through your smart speaker for single-word control. Step five, track energy usage in-app to see which device draws the most power. Smart plugs typically cost between $15 and $20 apiece at mainstream retailers. Insider tip: choose plugs with energy-monitoring features and look for Wi-Fi mesh compatibility if your kitchen is at the edge of your home network.
Combine Modern Technology with Classic Kitchen Elements
While your cabinets and countertops carry years of patina and charm, a few smart touches can give those classic features new functionality. For example, replace a single cabinet glass pane with a touchscreen display behind tempered glass to serve up recipes or stream instructional videos while you work. That touchscreen panel kit costs roughly $200, and you can stick it in place of a 12-inch square cabinet door. Insiders recommend pairing it with a voice assistant chip to keep hands free for mixing dough.
Design cohesion occurs when tech hides in plain sight. Magnetic charging docks rest beneath floating shelves so you slip your tablet into place only when you need it. You preserve the woodgrain vibe until you peel it forward for a video tutorial. Such mounts range from $30 to $50 and attach firmly with industrial magnets. Pro tip: touch up any exposed screw heads with a matching cabinet stain marker to keep the finish seamless.
Money-Saving Shopping Hacks
- Time Purchases Around Seasonal Sales: Identify when retailers rotate stock—often during spring and autumn—and schedule your bigger buys like smart fridges or multi-outlet hubs for those windows. Cross-reference week-old circulars to spot end-of-season markdowns on out-of-production models. That approach can net 20–30 percent off MSRP. Insider trick: subscribe to retailer newsletters for flash-sale alerts one day before public releases.
- Bundle When You Can: Many smart home platforms offer multi-device kits at a lower per-item cost than single units. Look for paired lighting and plug bundles from the same ecosystem to ensure seamless app integration. Bundles often carry a 10–15 percent discount compared to item-by-item purchases. Insider tip: buy directly from the maker’s website during demo weekends—they sometimes include free flat-rate shipping for bundles.
- Refurbished Deals: Browse certified-refurbished options for devices like smart speakers and hubs. Those often carry the same warranty as new items but at a 25–40 percent discount. Only buy from authorized dealers to safeguard return rights. Insider advice: verify the kit includes all original sensor attachments and cables so you won’t end up hunting for extra parts later.
- Price-Tracking Extensions: Install a browser extension that monitors price changes across multiple retailers and sends you notifications when your chosen item dips below a threshold you set. Use that data to decide whether to pull the trigger or wait for another dip. This tool itself is free, and you can stack coupons on top of the lowest tracked price for maximum savings.
- Local Buy-Back Credits: Some local scrap or recycling centers cash in old electronics, offering vouchers when you drop off outdated kitchen gadgets. Use those credits to lower the cost of upgrades like smart microwaves or induction cooktops. Model specifics vary by location, so call ahead to confirm acceptable items and credit values.
Choose devices that fit your cooking needs, install them correctly, and shop smart to refresh your kitchen without a full remodel. These updates add a modern feel while keeping costs low.